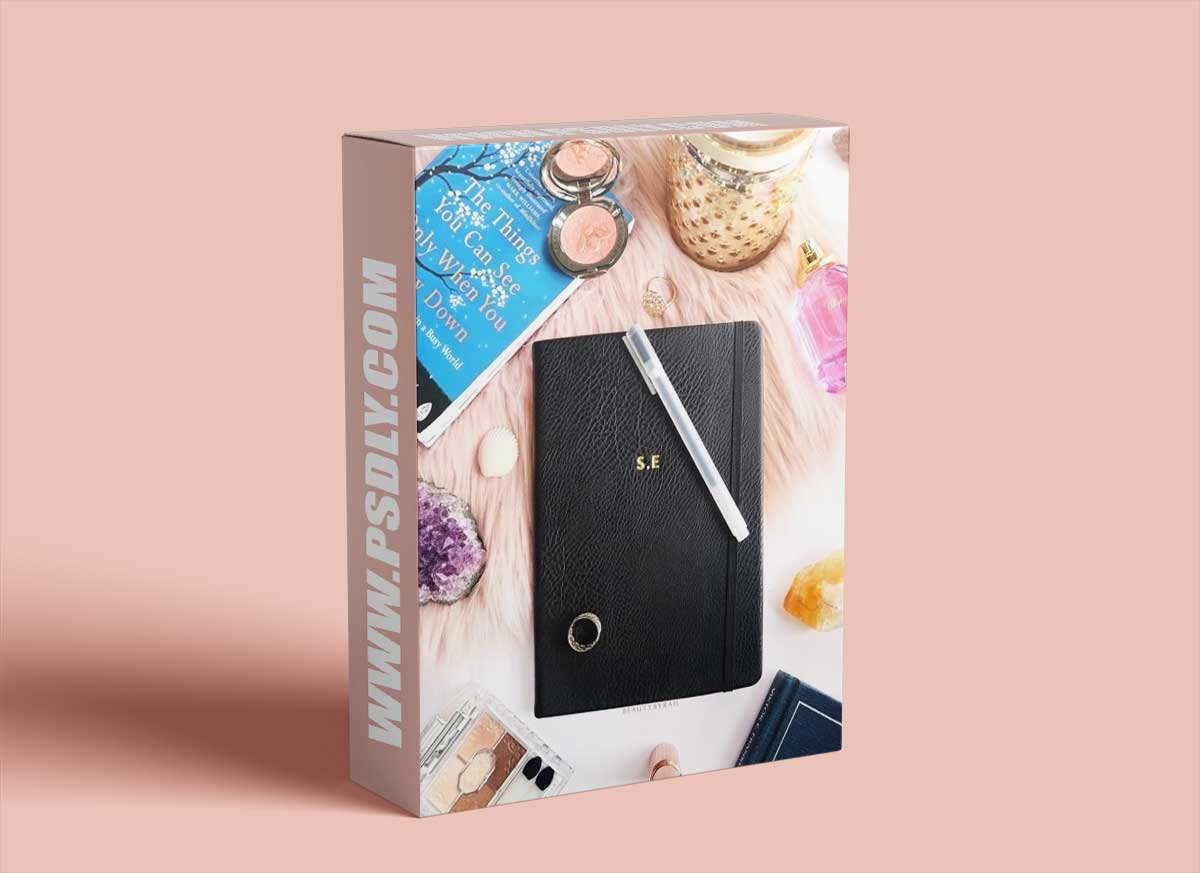
Hi everyone! In this class, I will share with you how I personally take my flatlays. I’m not a professional photographer, but I have been taking flatlays for a few years now as I run a beauty and lifestyle website.
It was difficult and intimidating to begin taking flatlays, but I’ve learnt a few things along the way so I decided to share them. It may not be the very best tips using the various terminology that could come from a professional photographer, but I hope my tips and tricks will help you if you’re just starting out.
It was difficult and intimidating to begin taking flatlays, but I’ve learnt a few things along the way so I decided to share them. It may not be the very best tips using the various terminology that could come from a professional photographer, but I hope my tips and tricks will help you if you’re just starting out.
This class covers:
- What is a flatlay
- Various prop ideas for flatlay
- 9 things to consider before setting up your flatlay
- The equipment and tools I use
- Flatlay demonstration 1 (same colour scheme)
- Setting it up
- Thought process
- Editing process using Adobe Photoshop
- Flatlay demonstration 2 (beauty products)
- Setting it up
- Thought process
- Editing process using Adobe Photoshop
This class is for beginners in photography who are interested in taking flatlay pictures.