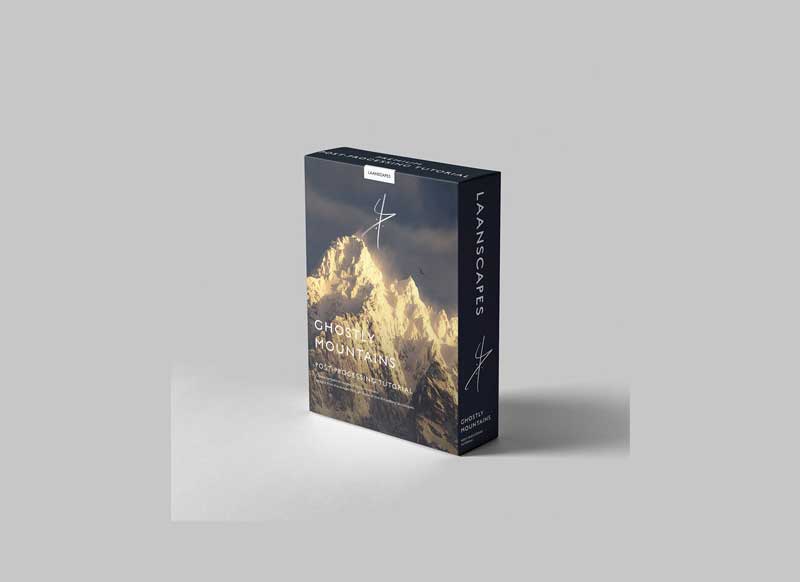
Source
https://www.laanscapes.com/processing-videos/misty-mountain-photoshop-tutorial
Category
File Size
3.3 GB
Publisher
laanscapes
Updated
December 14, 2021
Description
My favourite subject in front of the telephoto lens: moody mountains bathing in the clouds. Learn countless state-of-the-art techniques in my longest tutorial ever recorded.
What’s Included?
These three videos contain more than 3,5 hours’ worth of processing together, my biggest Photoshop tutorial ever recorded!
Three PSD-files (resized) of “Freedom Spires”, “Still for a Moment” and “Gleam of Dawn” with every adjustment still present.
Read-me file with photography tips and links to additional tools such as TK Actions and the last sharpening tool you will ever need.
What Will I Learn?
This is my entire workflow for a misty mountain photo. In three videos, we will cover:
- Simultaneous Raw pre-processing
- Aligning layers by hand using the Difference Blending Mode
- Selecting the best parts of different images shot in rapid succession: birds, changesin light, etc.
- Creative Controlled Warping
- Leading the eye with darkness and light
- Cloud dodging and reflected light dodging
- Luminosity Selections (RGB Channels and Tony Kuyper’s luminosity masks)
- Post-Processing for a dramatic film-look, straight from the fantasy films of Peter Jackson set in Middle-Earth
- Matte Painting – the technique actually used in those films to create backgrounds
- Selecting the best crops
- Orton effect creation and control in Photoshop
- Light Bleed and other light effects in Photoshop
- Alternatively use Skylum Luminar to create those light effects
- Panorama Stitching with a back-up plan
- Repairing slightly out-of-focus mountains
- Color grading and color corrections
- Export and sharpening for the
Preview
1 image
Download File